Direct-to-Film (DTF) printing is an apparel-decorating process that uses a professional-grade inkjet printer, thermal-transfer pigment inks, inkjet-printable transfer films, a hot-melt adhesive powder, and a controllable heating mechanism. After the hot-melt adhesive power is applied to printed graphic on the film, the film is heat pressed in a manner in which the graphic fully transfers and bonds with the decorated item.

The DTF process is used to make vibrant and detailed prints that can be heat-transferred to many types and sizes of apparel and promotional products. For example, users of DTF printers can decorate T-shirts, jackets, hoodies, tote bags, canvas sneakers, tote bags, eyeglass cases, garment tags, ribbons, and backpacks.
A DTF system uses a different combination of materials and processing steps than a DTF-UV system. This post first describes the DTF process, then describes how the DTF-UV process differs.
Steps in the DTF Transfer Process
STEP 1: Use the printer-management software to convert the design into a file that will instruct the inkjet printer to apply the right amount of inks in the proper sequences and colors to achieve the desired results.
STEP 2: Print the graphic in reverse mode onto a specialized polyester (PET) transfer film. Use a layer of white ink on the back of the color graphic. (When the graphic is heat-pressed to the garment, the white ink will provide the base layer that is needed to make the colors appear vibrant and consistent on dark-colored fabrics.
STEP 3: Sprinkle a specialized hot-melt adhesive powder onto the printed film. Apply the powder manually or with an automatic powder shaker that distributes the adhesive evenly across the artwork on the film. When the powder is heated, it will melt and adhere only to the ink, and not the PET film. Shake off the excess.
STEP 4: Dry the melted adhesive and ink before loading it onto the heat press for transfer. Specialized curing ovens or heated shaking devices are available for this step. Production-grade DTF systems may feature inline units.
STEP 5: Use a heat press with controllable temperature settings to transfer the adhesive ink layer onto the garment. Follow the recommendations of the film manufacturer for the right pressing time and temperature to achieve the best results on the type of garment being decorated.
STEP 6: Peel the film away from the pressed garment. If you use a cold-peel film you need to wait a few minutes for the graphic to cool.
This video from the Epson Print Academy illustrates the steps involved in creating a DTF transfer on a sheet of DTF film and applying it to a hoodie: https://youtu.be/Qcr-mTGb3PY?si=S-9XSnJvVTJ9Xr3f\
Advantages of DTF Transfer
High-volume garment printing companies are adopting the DTF transfer process to complement their other apparel decorating processes such as embroidery, direct-to-garment (DTG), sublimation, and screen-printing. These companies already have equipment such as heat presses, curing ovens, and digital cutters.
Lower-cost DTG/DTF or DTF/vinyl cutting hybrid systems are available to creative entrepreneurs who want to start apparel decorating businesses in small spaces within their homes or studios.
Here are some of the advantages that DTF offers business owners:
Versatility: Identical graphics can be applied to apparel made with many different types and colors of fabrics., including polyester, cotton, silk, poly/cotton blends, denim, and leather.
Efficiency: High volumes of DTF transfers can be printed unattended, stored for up to six months, and shipped to multiple locations. To minimize garment waste, the graphics can be applied to a garment after a custom design has been ordered.
Reduction of Manual Steps: Unlike direct-to-garment (DTG) printing, DTF doesn’t require the garments to be pretreated and manually loaded and unloaded onto the printer. And unlike heated vinyl transfers, the graphics don’t require the extra step of manually removing (“weeding”) unnecessary portions of the transfer before it is pressed into the garment.
Durability: DTF transfers can withstand multiple wash cycles without fading or cracking.
Obstacles of DTF Transfer Process
The learning curve can be steep. Developing a quality-controlled and repeatable process requires some testing before the transfers are good enough to sell to clients. It can take awhile to find the right combinations of graphic designs, inks, films, and heat-press settings to achieve consistent results on the types of decorated products to be sold.
The environment must be controlled. The printing should be performed in a climate-controlled environment with steady temperatures and humidity levels. Likewise, DTF transfers should be stored in controlled environment and applied to garments within 6 months.
Daily maintenance is a must. The inkjet-printing equipment must be meticulously maintained to avoid printhead clogs or unsightly “pinholes” in the print caused by specks of dust or dirt.
DTF System Manufacturers
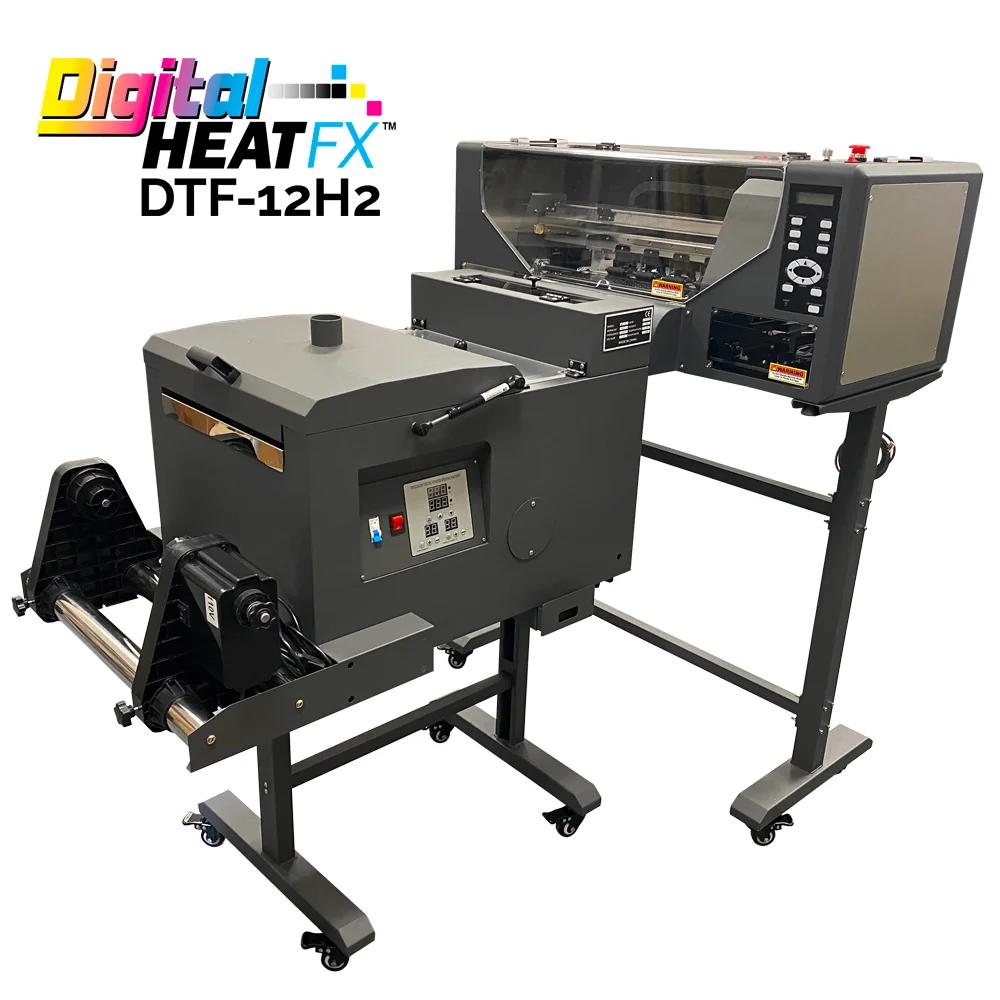
DTF systems for garments are available to complement large apparel-decorating operations as well as home-based businesses the make products to sell through online storefronts or at craft fairs.
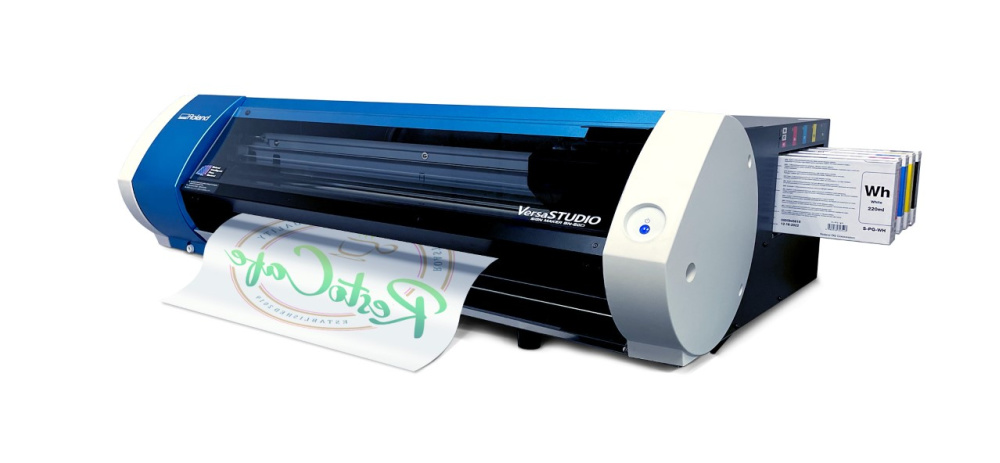
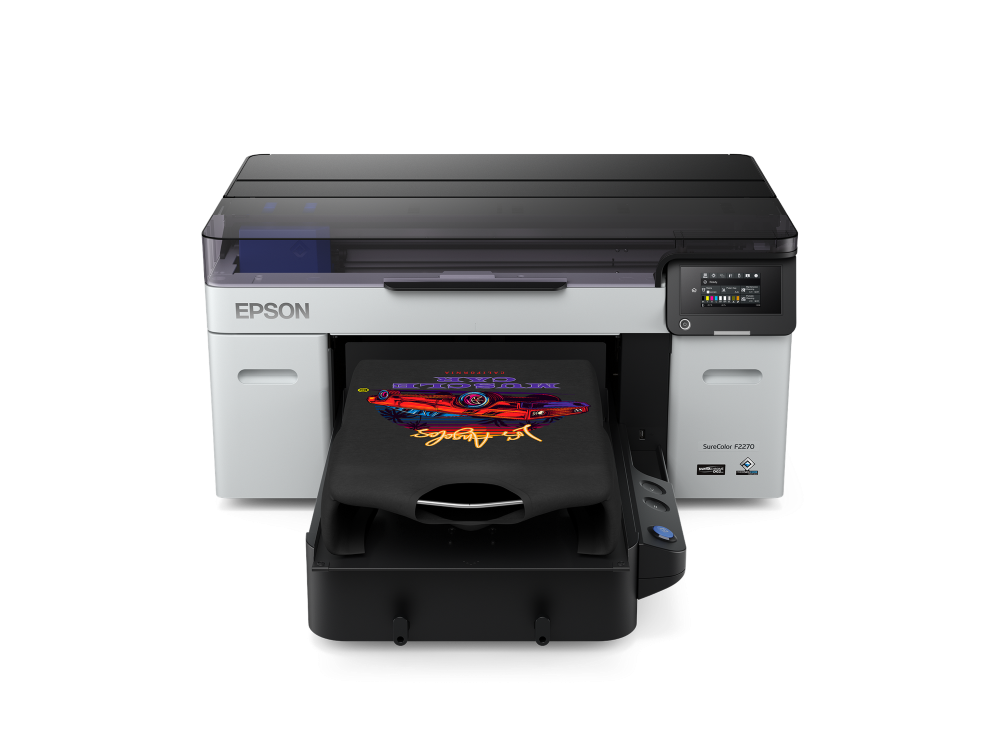
Inkjet printer manufacturers such as Epson, Roland, Brother, and RIcoh make DTF systems or hybrid DTF/DTG units for use in small spaces.
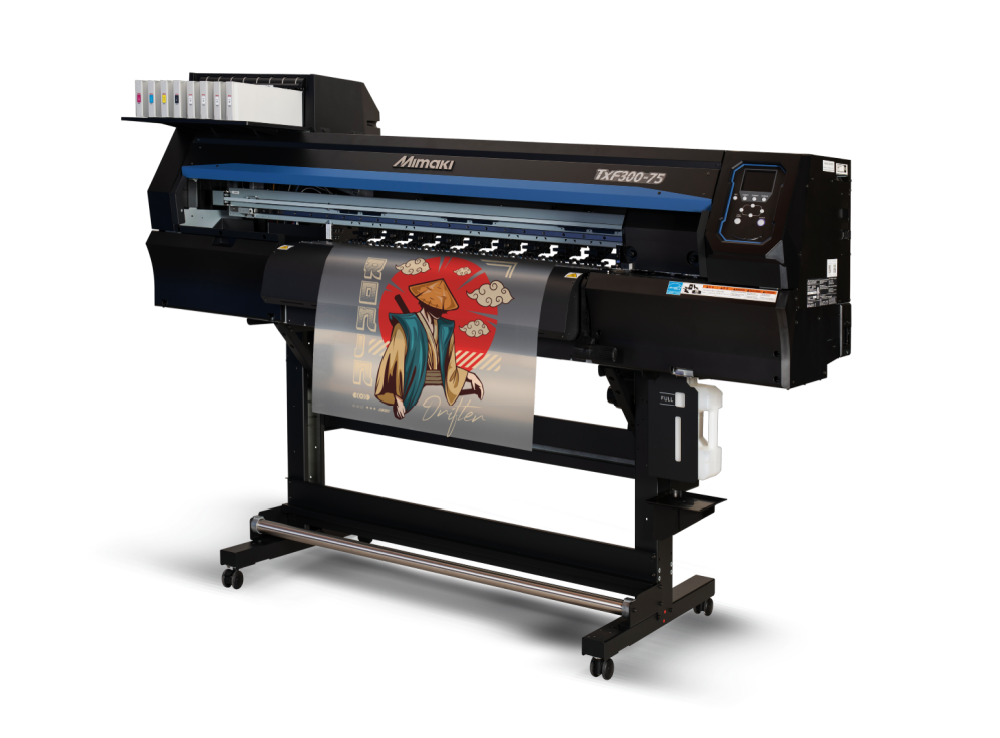
Higher-roll-to-roll production units are made by companies such as Mimaki, ColDesi, STS Inks, CobraFlex, M&R, Velox, and OmniPrint.
Companies that make DTF systems for smaller enterprises and home businesses include: Roland DGA, Epson, Ricoh, and dozens of other smaller companies.
The DTF systems made by experienced manufacturers of professional wide-format inkjet printers tend to include better software, white ink-recirculating systems, and other features that reduce the amount of daily maintenance the operator must perform. They also use state-of-the-art printheads that can print higher resolution images with variable droplet sizes.
How is a UV-DTF System Different from a DTF System?
A UV-DTF system does not use powder adhesives or heat presses. Instead, it uses UV-curable colored, white, and clear inks and a adhesive-backed print film and an adhesive packed top film.
UV-DTF graphics are designed to be manually pressed (like stickers) onto curved rigid objects that are difficult to print on a standard flatbed UV printer.
STEP 1: Use the printer management software to instruct the printer how to layer the white inks, color inks, and clear varnish to achieve the desired look and feel of the graphics.
STEP 2: Print the graphics on an adhesive-backed DTF printable film.
STEP 3: Apply a clear, adhesive-backed film (such as a laminating film) over the top surface of the printed graphics.
STEP 4: Cut one graphic from a sheet of ganged-up multiple graphics. Peel the protective liner away from the from the back of printed graphic and manually press the sticker-like graphic onto the surface of the item to be decorate. Smooth out wrinkles and ensure that all edges are pressed down.
STEP 5: Peel away the laminating film away from the top surface of the printed graphic, The only thing that remains on the surface of the decorated object should be UV-printed graphic — including the clear coating that adds texture or protects the surface image.
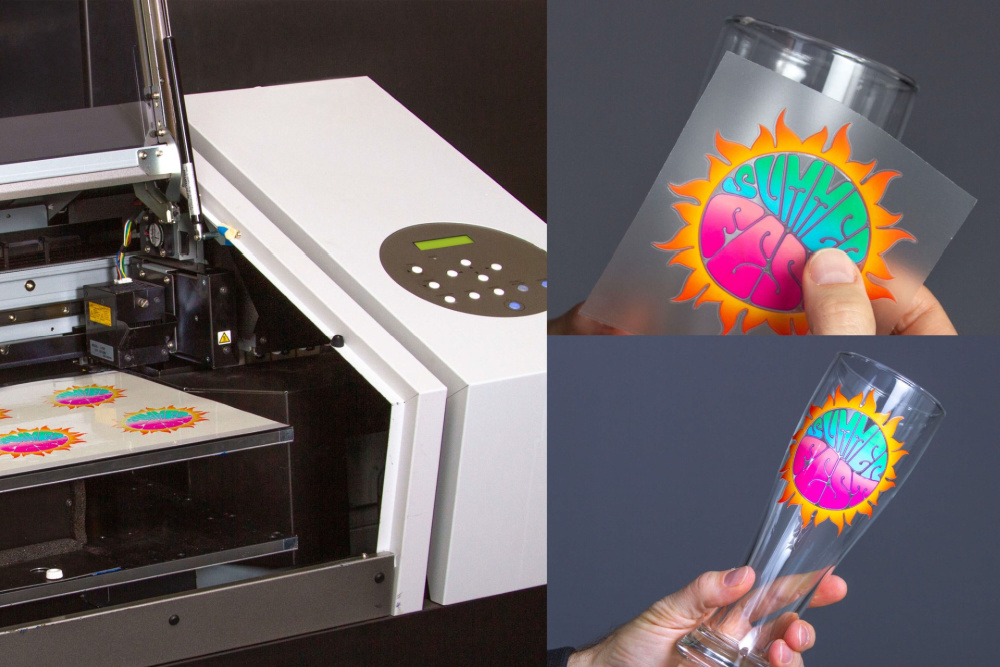
Other companies that offer UV-DTF systems include ColDesi, CobraFlex, Arcus, and Solis. The systems built for higher-production include inline laminating systems.
To Learn More
The new website, DTFprinting.com, includes news, articles, podcasts, and how-to videos about DTF systems. You can see live demonstrations of multiple DTF systems at the first-ever DTF Expo, Feb. 23-24, 2024 in Phoenix.
